
|

This tutorial is my own design and any resemblance to any other tutorial is purely coincidental. It was created in Paint Shop Pro X and Animation Shop 3.1 © October 2012 - Yvonne - Yorkshire Lass Designs - All rights reserved. You will need the following to complete this tutorial: Tubes vsc_janwitch.psp yp_wordart_dear_diary.psp The above can be downloaded HERE Download and extract to a file on your computer. Open tubes in PSP and minimise. Plug Ins I.C.NET Software - Filters Unlimited The above can be downloaded HERE Download and extract to a file on your computer. Save to your Plug Ins folder *********** Drag this arrow with you to mark your place in the tutorial Drag and Drop Script from Dynamic Drive ********** INSTRUCTIONS STEP 1 Open a new canvas 800 x 800 pixels white background 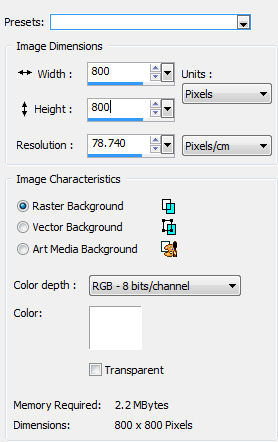
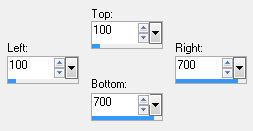
Layers >> Promote Background Layer STEP 2 Layers >> New Raster Layer Selection Tool >> Custom Selection 
STEP 3 In the Materials Palette load Foreground with #F8F8FF Ghost White Flood fill selection with Foreground colour Do not de-select Effects >> Edges, Square >> Square Edge 17 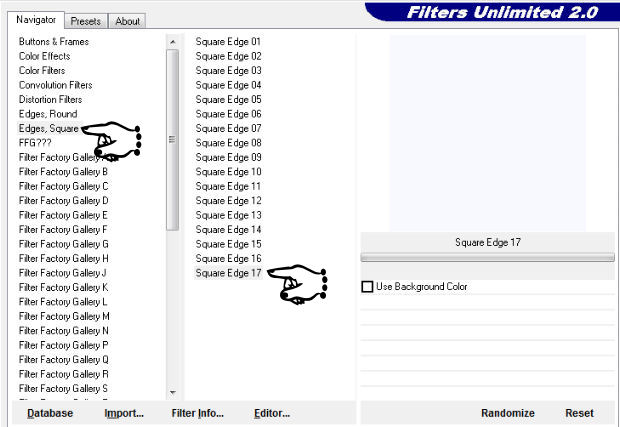
Do not de-select This is what you should have now 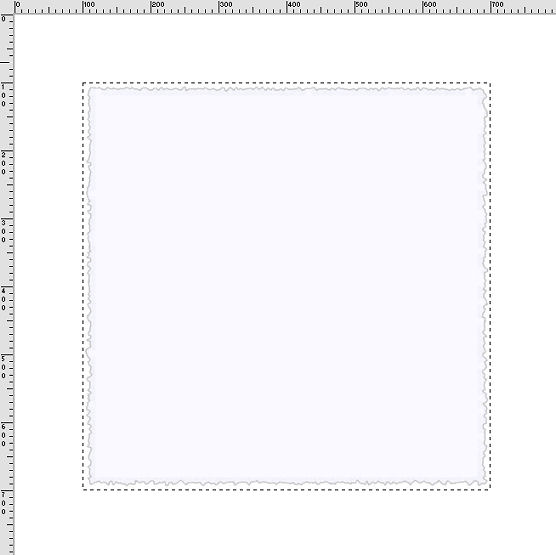
STEP 4 Maximise tube vsc_janwitch.psp Edit >> Copy Minimise tube Edit >> Paste as New Layer With the Move Tool position to the left of canvas 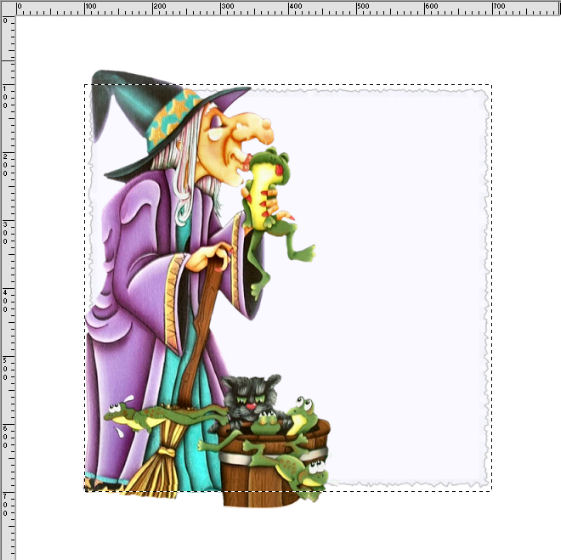
Selections >> Select None STEP 5 Adjust >> Blur >> Gaussian Blur 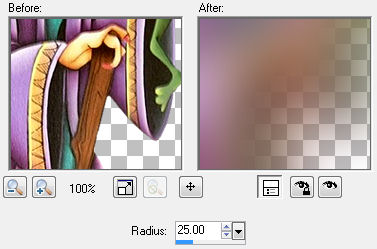
STEP 6 Effects >> Texture Effects >> Mosaic - Antique 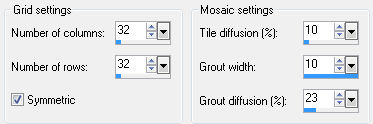
In the Layers Palette reduce the opacity to 80% Layers >> Properties 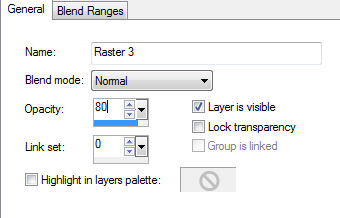
STEP 7 In the Layers Palette highlight Raster 2 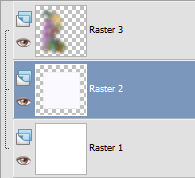
Selection Tool >> Freehand Selection Draw out a selection as below 
Hit the Delete key STEP 8 In the Layers Palette highlight Raster 3 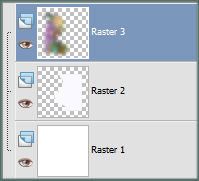
The witch tube should still be on the clipboard Edit >> Paste as New Layer With the Move Tool position to the left of the canvas, over the blurred outline Selections >> Select None This is what you should have now 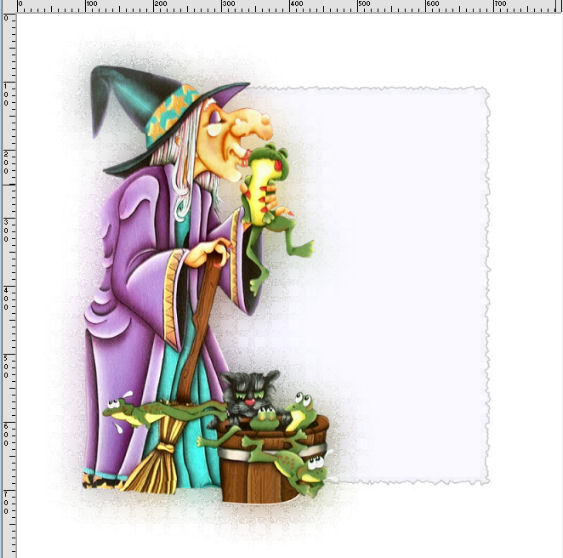
STEP 9 Maximise yp_wordart_dear_diary.psp Edit >> Copy Minimise tube Edit >> Paste >> Paste as New Layer With the Move Tool position on the right of the witch See finished tag for placement STEP 10 Layers >> New Raster Layer Add your name and/or watermark NOW TO ANIMATE If you do not wish to animate, you can stop here Layers >> Merge >> Merge All (Flatten) Resize if desired Save as a jpg STEP 11 Layer >> New Raster Layer Rename this layer "Eyes-cat" 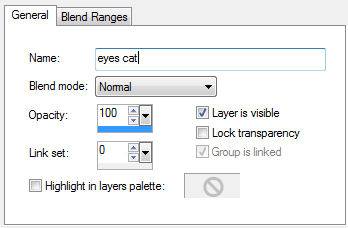
With the Selection Tool >> Freehand Selection Hold down the shift key and select the cat's eyes 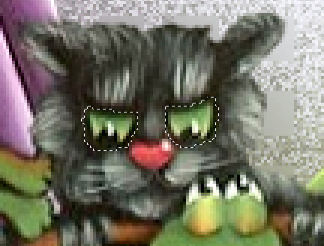
In the Materials Palette load Foreground with #000000 Black Select the Flood Fill Tool and flood fill selections with foreground colour Selections >> Select None STEP 12 Layer >> New Raster Layer Rename this layer "Eyes-frogs 1" 
With the Selection Tool >> Freehand Selection Hold down the shift key and select the eyes of the frogs not in the bucket 
In the Materials Palette load Foreground with #788c4d Green Select the Flood Fill Tool and flood fill selections with foreground colour Selections >> Select None STEP 13 Layer >> New Raster Layer Rename this layer "eyes frogs 2" 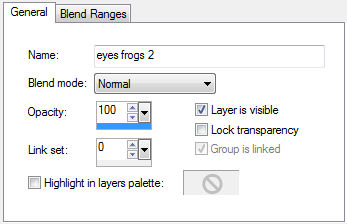
With the Selection Tool >> Freehand Selection Hold down the shift key and select the eyes of the frogs in the bucket 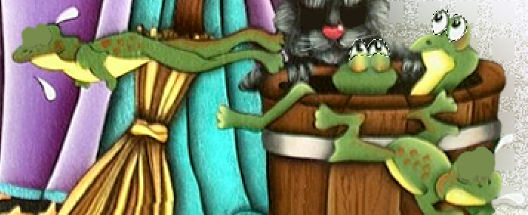
In the Materials Palette load Foreground with #94b16d Green Select the Flood Fill Tool and flood fill selections with foreground colour Selections >> Select None STEP 14 In the Layer Palette hide Eyes-cat, eyes frogs 1 and eyes frogs 2 Highlight Raster 4 Layers >> Merge Visible STEP 15 Edit >> Copy Open Animation Shop Edit >> Paste >> As New Animation Back to Paint Shop Pro STEP 16 In the Layers Palette, unhide Eyes cat, hide Eyes Frogs 1 and Eyes Frogs 2 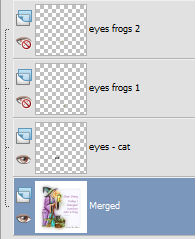
Edit >> Copy Merged Over to Animation Shop Edit >> Paste >> After Current Frame Back to Paint Shop Pro STEP 17 In the Layers Palette, hide Eyes cat, unhide Eyes Frogs 1 and hide Eyes Frogs 2 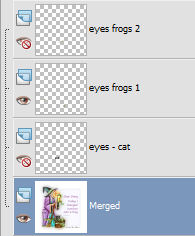
Edit >> Copy Merged Over to Animation Shop Edit >> Paste >> After Current Frame Back to Paint Shop Pro STEP 18 In the Layers Palette, hide Eyes cat, hide Eyes Frogs 1 and unhide Eyes Frogs 2 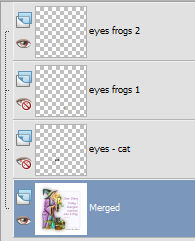
Edit >> Copy Merged Over to Animation Shop Edit >> Paste >> After Current Frame This is what you should have now 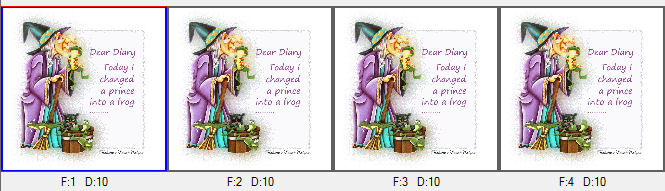
STEP 19 Run your animation View >> Animation The eyes should be blinking Close Animation STEP 20 Animation >> Animation Properties 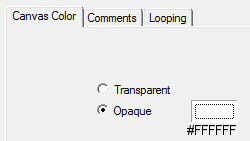
STEP 21 Resize animation if desired I resized mine to 650 x 650 pixels Animation >> Resize Animation 
STEP 22 Save as a gif I hope you enjoyed this tutorial. If you have any questions or would like to show me your result EMAIL ME Return to Tutorials - Page 1 |